Token Claims
In order to use information about tenants in your application, you need to add it to the token claims.
IAMS introduced the following mapper to add tenant information to the token claim:
- Active tenant – maps the active tenant to a token claim.
- All tenants – maps all tenants that user is a member of to a token claim.
Configure the Mapper
You can enable the mapper to the individual client or at the Client Scopes.
If you enable the mapper at the Client Scopes, any new client created after that will inherit the mappers and do not need require further configuration.
The default realm created in the Local Development has the mapper configured in Client Scopes.
Enable at Keycloak Client
To enable the 2 mapper for a Keycloak Client, perform the following steps:
-
Login to
Keycloak Admin Consoleand switch to the realm. -
Click on
Clientsin the side menu

-
Click on the Client ID of the client to configure.
-
Click on the
Client scopestab.

- Click on the client scope with the name ended with
dedicated.

- Click on
Add mapperandselect By configuration.

- Click on
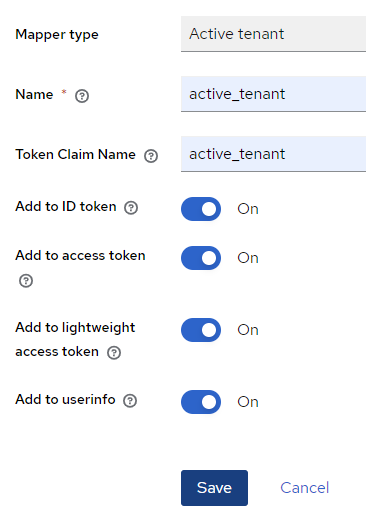
Active tenant

- Enter the following fields:
- Name: active_tenant
- Token Claim Name: active_tenant
- Turn on
Add to lightweight access tokencheckbox
- Click on
Saveto add the mapper.

- Click
Cancelto go back to the Mappers list. You should seeactive_tenantmapper in the list.

-
Click on
Add mapperand selectBy configuration. -
Click on
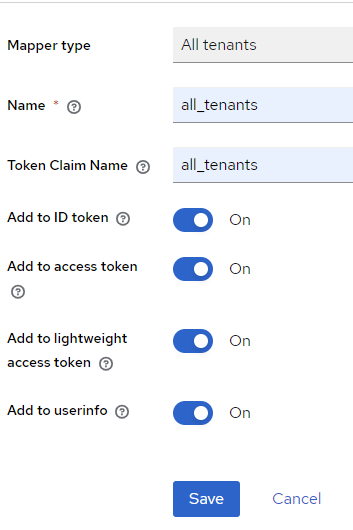
All tenants

- Enter the following fields:
- Name: all_tenants
- Token Claim Name: all_tenants
- Turn on Add to lightweight access token checkbox
- Click on
Saveto add the mapper.

Enable at Client Scopes
As mentioned, enable the mappers in Client Scopes will allow any newly created client to automatically inherit the mappers.
Follows the following steps to enable mapper at the Client Scopes:
-
Login to the Web Admin Console and navigate to the realm.
-
Click on
Client scopesin the side menu:

- Click on
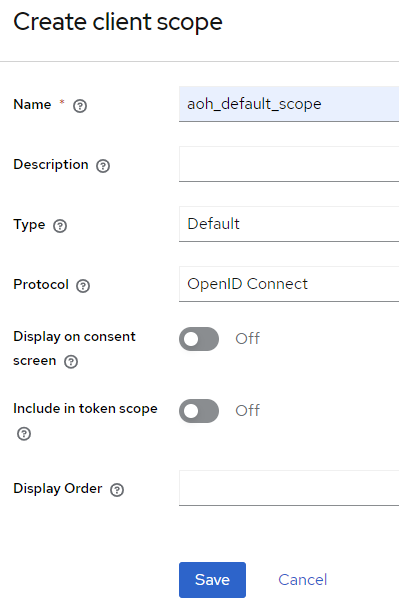
Create client scope:

- Enter the followings:
- Name: any prefer name
- Type: Default
- Protocol: OpenID Connect
- Turn off the Display on consent screen checkbox
- Click on
Saveto create the client scope.
- Click on
Mapperstab

- Click on
Configure a new mapperbutton:

- Click on
Active tenant
- Enter the following fields:
- Name: active_tenant
- Token Claim Name: active_tenant
- Turn on
Add to lightweight access tokencheckbox
- Click on
Saveto add the mapper.
- Click
Cancelto go back to the Mappers list. You should seeactive_tenant mapperin the list.
- Click on
Add mapperand selectBy configuration.

- Click on
All tenants
- Enter the following fields:
- Name: all_tenants
- Token Claim Name: all_tenants
- Turn on
Add to lightweight access tokencheckbox
- Click on
Saveto add the mapper.