Quickstart
The quickstart section of your module documentation should describe the minimal setup required to quickly run and begin doing development with your module. The following documentation below is the actual quickstart instructions on how to run this Docusaurus docs project.
If you are simply trying to figure out how to make simple changes to existing documents - such as changing links,
fixing typos or adding a short section, you can do that by editing the markdown file directly on the web using the
Edit this page link at the bottom of each page.
Pre-requisites
Please install the following programs and tools before creating your module documentation:
Recommended tools:
-
Plugins:
- Syntax Highlighting for MDX: https://marketplace.visualstudio.com/items?itemName=unifiedjs.vscode-mdx
- Code Formatter: https://marketplace.visualstudio.com/items?itemName=esbenp.prettier-vscode
Required:
- node.js (version ^20)
- git (version ^2.47)
- Access to the source code at https://github.com/mssfoobar/docs
Installation and running
- Clone the repository into a folder of your choosing:
git clone https://github.com/mssfoobar/docs
- Go into the newly cloned directory:
cd docs
- Get the required node dependencies:
npm install
- Run the start command to view the Docusaurus site in development mode:
npm run start
The website should now be open on http://localhost:3000/docs/. Changes you make and save will be automatically
reloaded on the page.
You can now make changes and preview them locally before merging them into the
Next, we will look at how we can add a new section in the navigation bar at the top of the page.
Create documentation for a new module
-
Choose a short unique label for your module. In this example, we're using
MNMfor (My New Module). -
Create a new folder for your module documentation files to exist in. Most of the time, you'll want to copy this documentation folder and use it as a template for your new module. Change the title of the folders accordingly.
cp -r ./docs/contributing/documentation ./docs/modules/mnm
- Set the name, position, and icon for your module:
In the _category_.json file for your module, set the "label" to "My New Module", and the position to the new desired
position in the sidebar.
-
Choose an icon for your module:
4.1. Head on over to Lucide Icons and pick an icon for your module. In this example, I'll use the battery-charging icon.
4.2. At the icon's page, click
Copy Component Nameto get the component name in CamelCase format.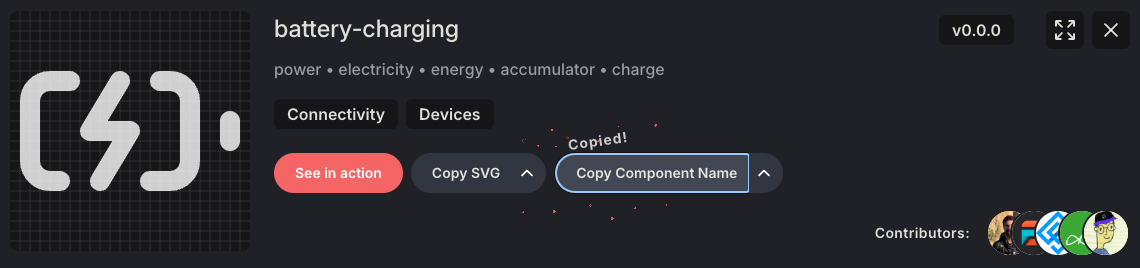
Alternatively, you can manually type the kebab-case format listed (
battery-charging) to the CamelCase version (BatteryCharging).4.3. Change the
iconproperty to your desired icon (BatteryCharging in this case).
Before modifying:
{
	"label": "Documentation",
	"position": 2,
	"customProps": {
		"icon": "BookCopy"
	}
}
After modifying:
{
	"label": "My New Module",
	"position": 1337,
	"customProps": {
		"icon": "BatteryCharging"
	}
}