IAMS
UNH is tightly coupled with IAMS to resolve the recipient contact information such as Email & FCM token by keycloak user id. Please make sure that you have the necessary resources created in IAMS before proceeding with UNH.
Necessary resources needed for UNH
- keycloak client for UNH to call IAMS-AAS API
- keycloak user with Email and FCM token attributes
It is essential to have a fully functional IAMS installed before starting with UNH. To learn more about IAMS, please refer to IAMS docs.
Keycloak client for UNH to call IAMS-AAS API
After deploying IAMS in your Kubernetes cluster, you can access its admin console to create a new client.
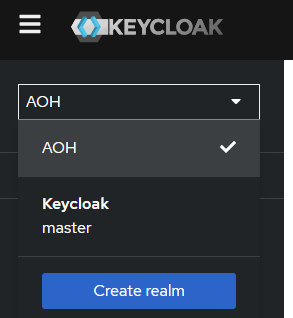
- Login to Keycloak Admin Console and switch the realm. This example demonstrates using AOH realm.
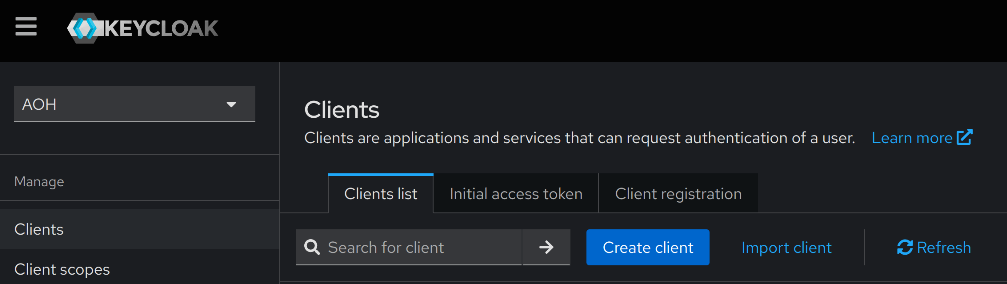
- Click on
Clientsin the side menu and click onCreate clientbutton.
- Go through the steps below to create a new client.
- Fill up the required fields (you can enter your own value here)

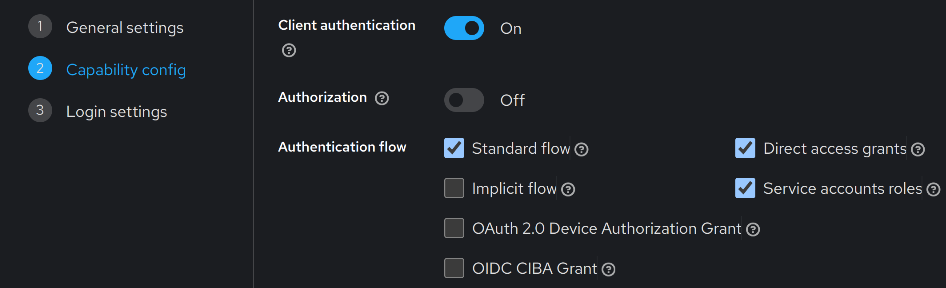
- Set capabilities settings
- Leave the fields below empty and click on
Save.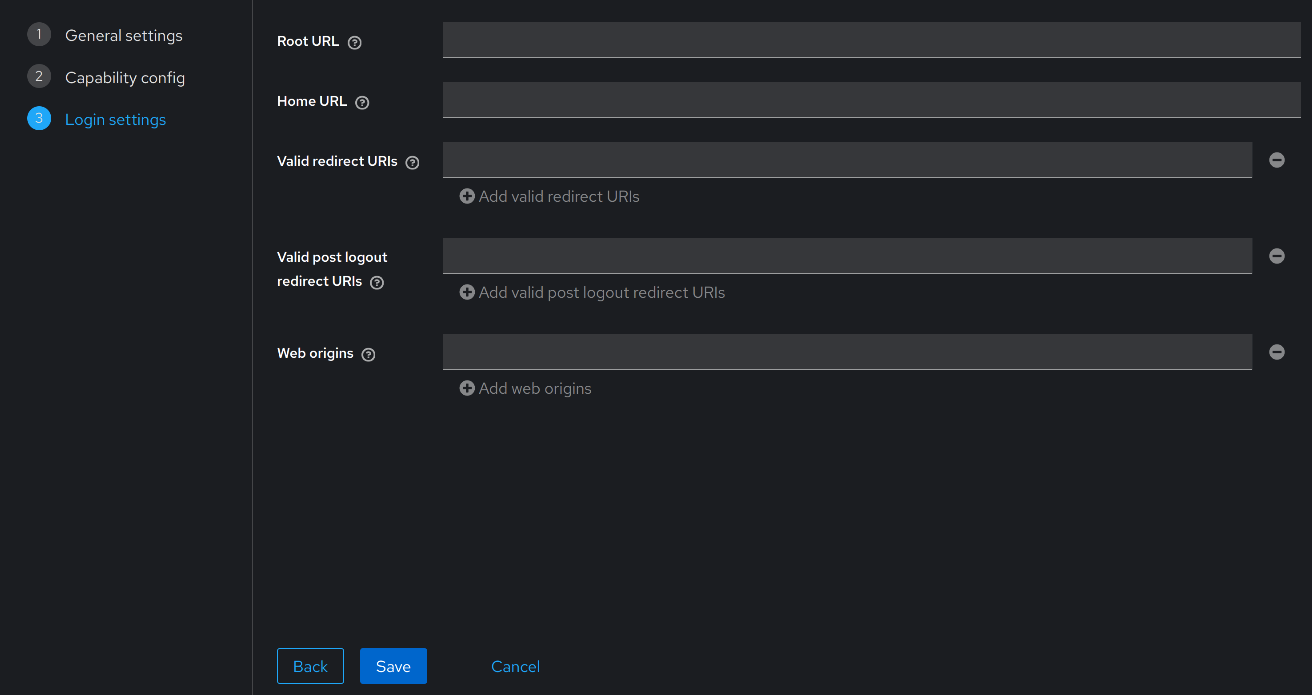
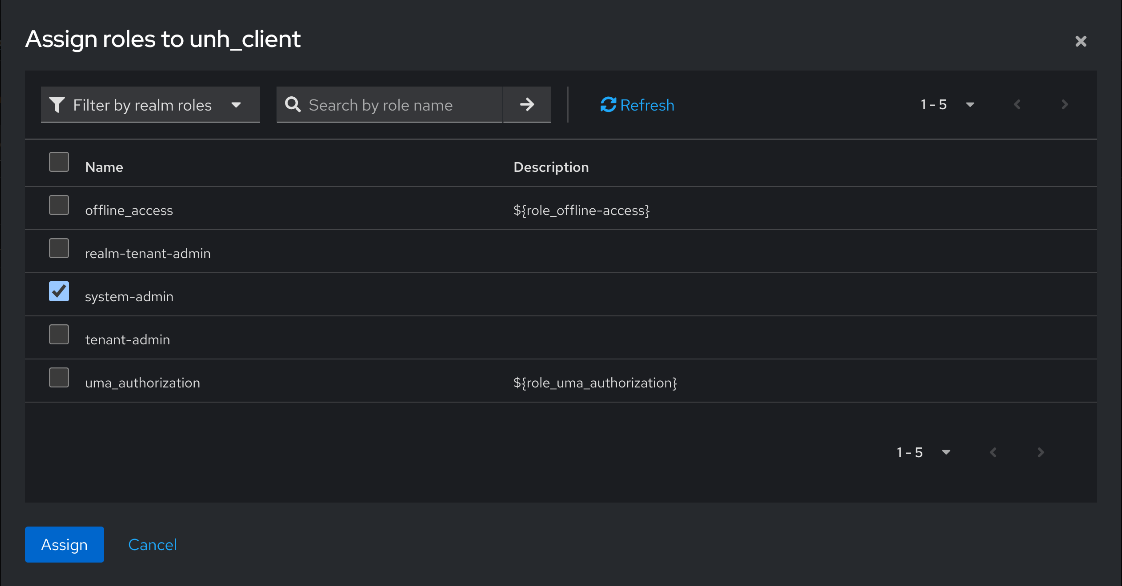
- Click on
Service accounts rolestab and click onAssign role.
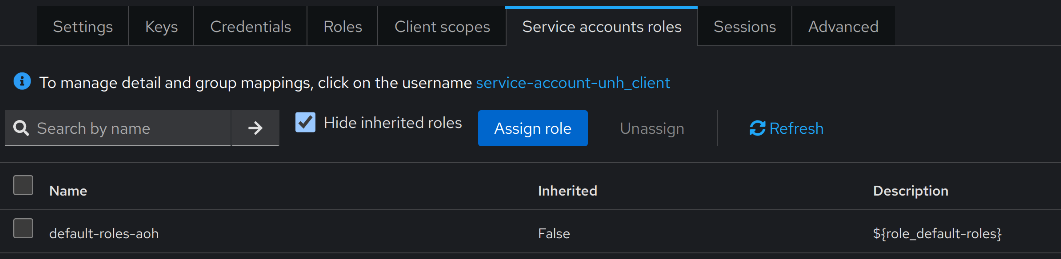
- Assign the
sys-adminrole to the client by selectingFilter by realm rolesat the top left.
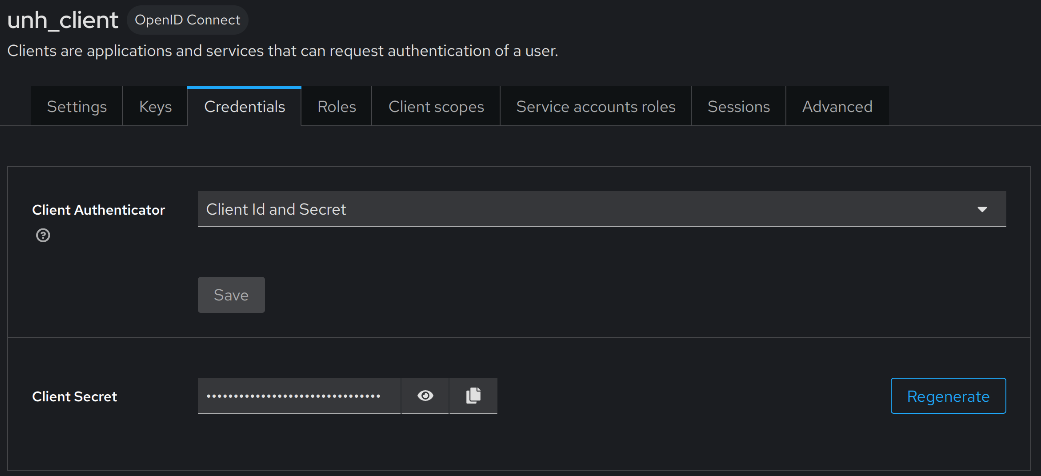
- You have created a new client in AOH-IAMS. Go to the
Credentialstab in the client details page and take note of the client id and client secret which will be needed in UNH deployment.
Keycloak user with Email and FCM token attributes
Generating an FCM token is outside the scope of UNH. For more information on generating an FCM token from a mobile device, refer to the Google FCM guide.
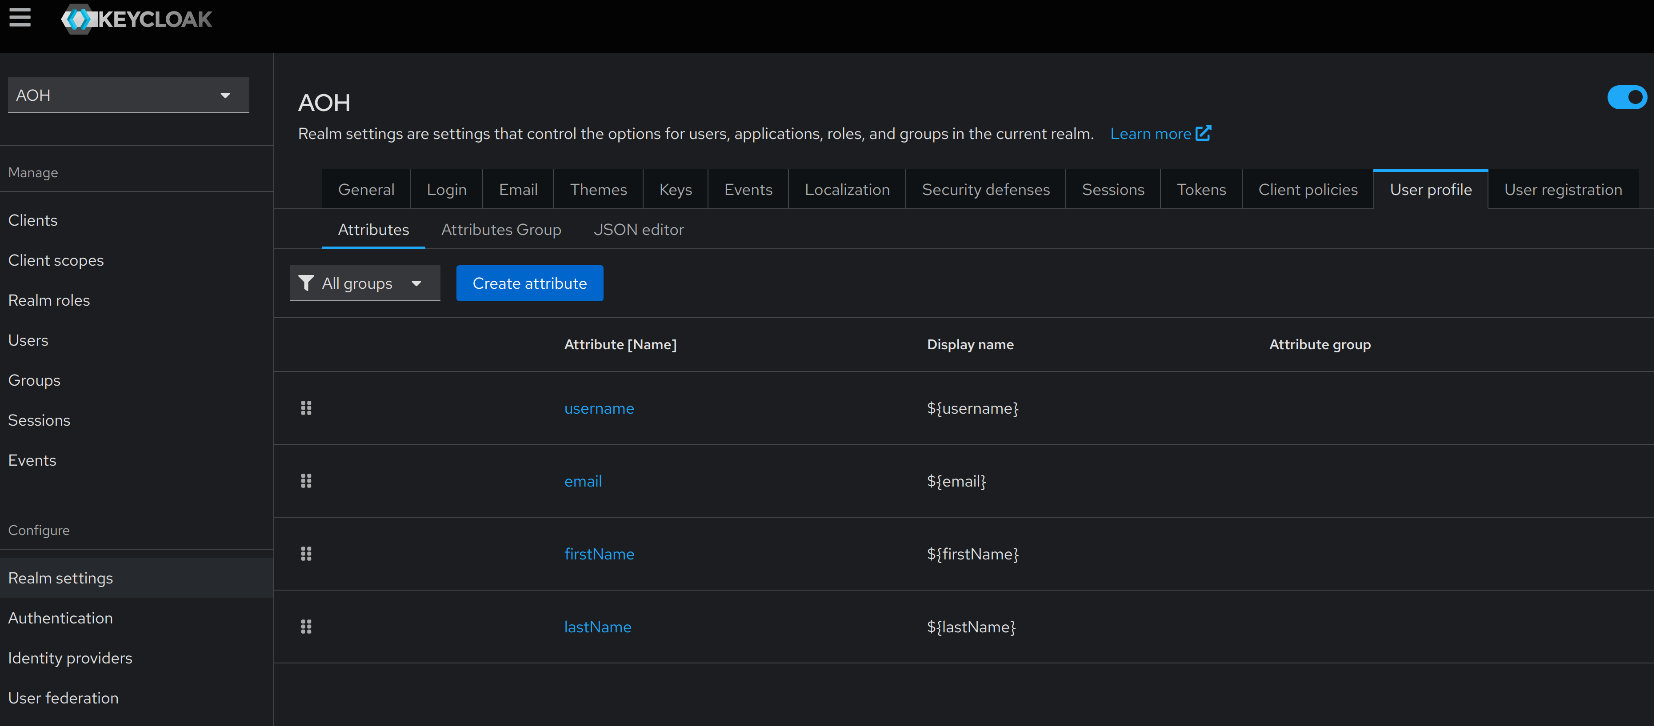
By default, Keycloak does not come with the FCM token attribute configured in the user profile. We need to add the FCM token attribute to allow UNH to retrieve users' mobile FCM tokens and send push notifications.
- Click on
Realm Settingsin the side menu and click onUser profiletab. Inside theUser profiletab, click onAdd attributebutton.
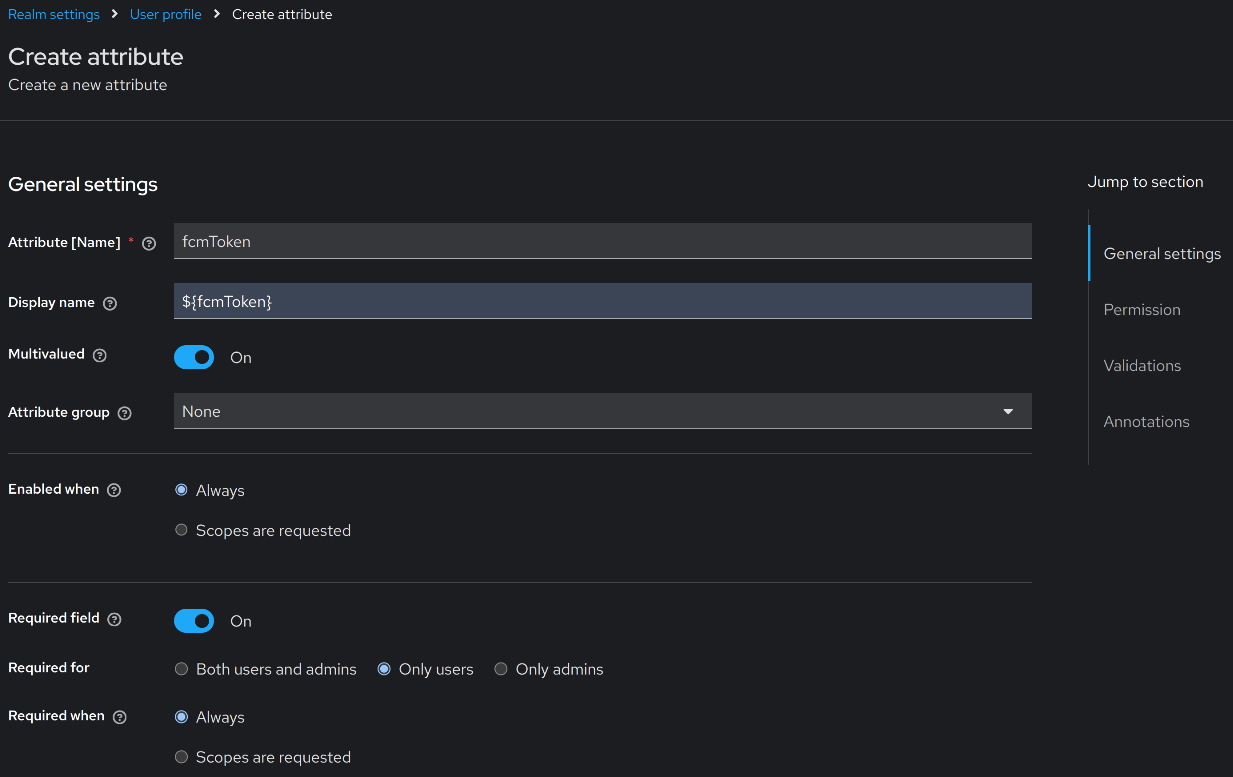
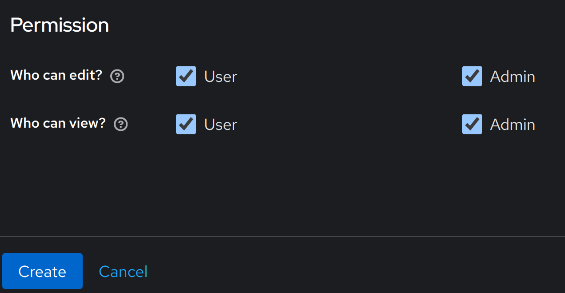
- Follow the settings below to create a FCM token attribute.
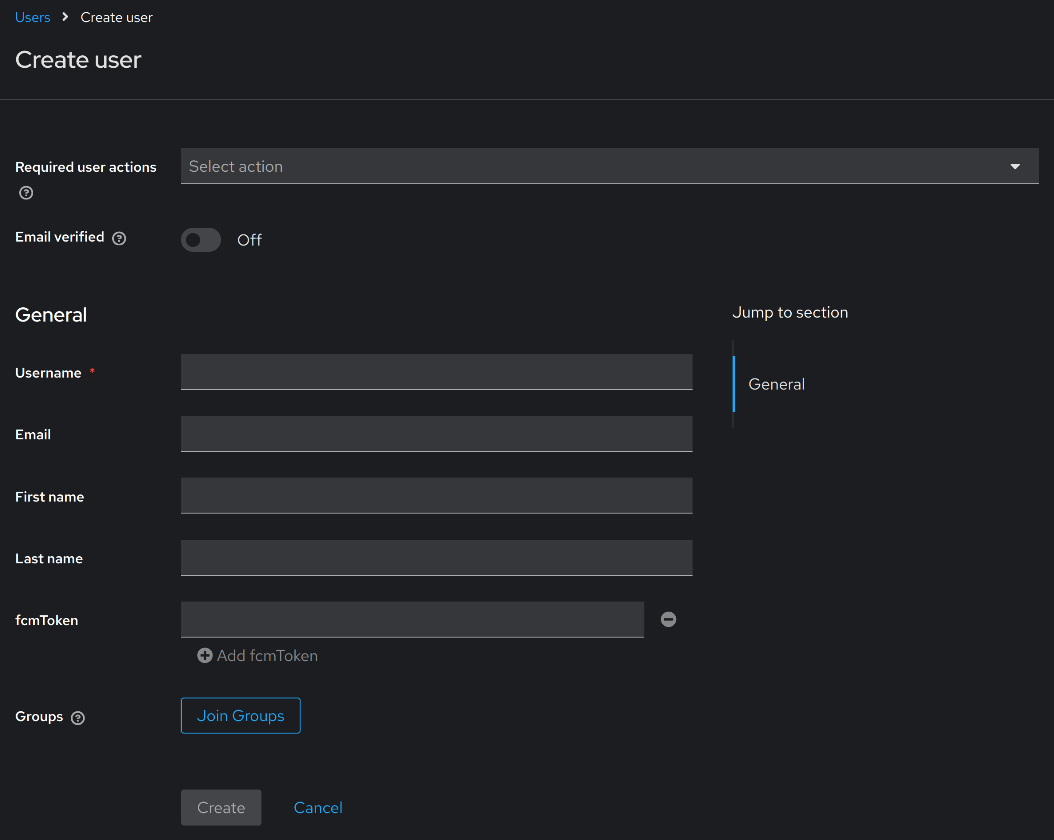
- Once FCM token attribute is created, we can set both Email and FCM token attributes when we create a new user.
Click on
Usersin the side menu and click onAdd user. Make sure to use a real, working Email address and FCM token.